Adding an Alerts Widget to a Dashboard
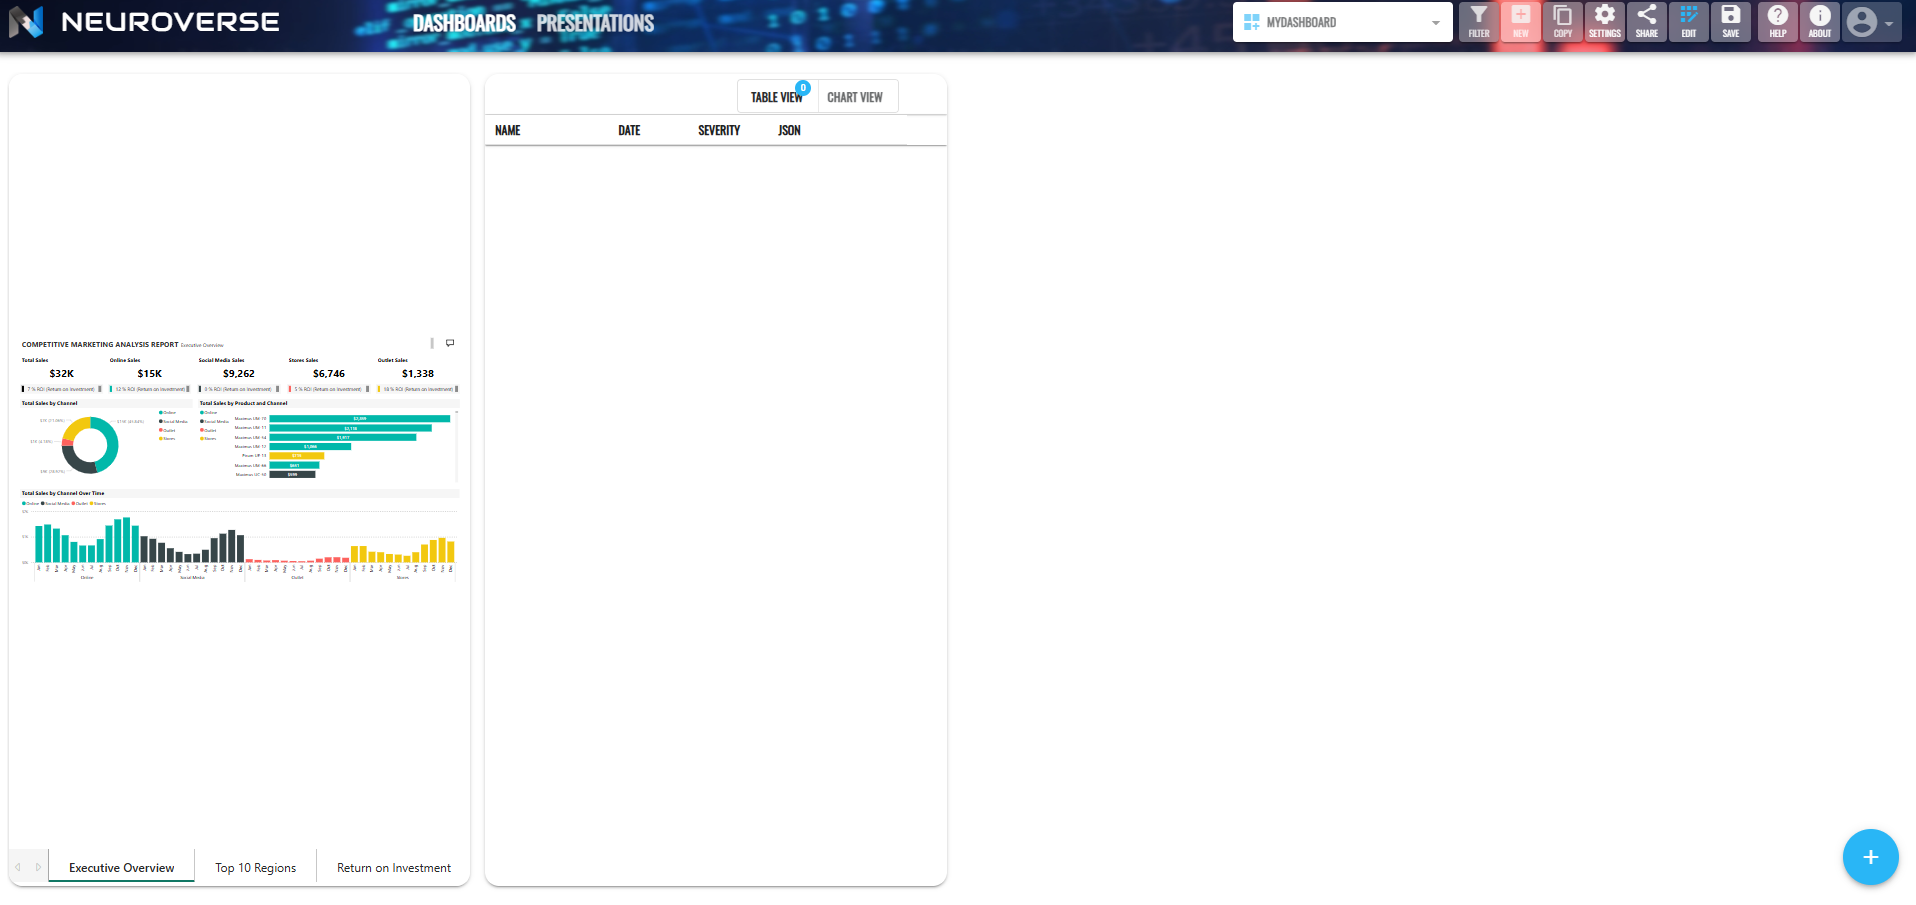
First put the dashboard into Edit mode by clicking the Edit button in the main menu bar as shown below.

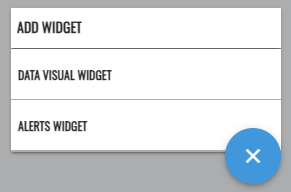
Click the Add Widget fab button, then click the Alerts Widget option that appears on the fab button menu shown below.
A new empty Alerts widget will now be displayed in the dashboard as shown below.
Clicking the edit icon button at the top right of the new widget (after first hovering over the widget) will display the edit popup for the widget.
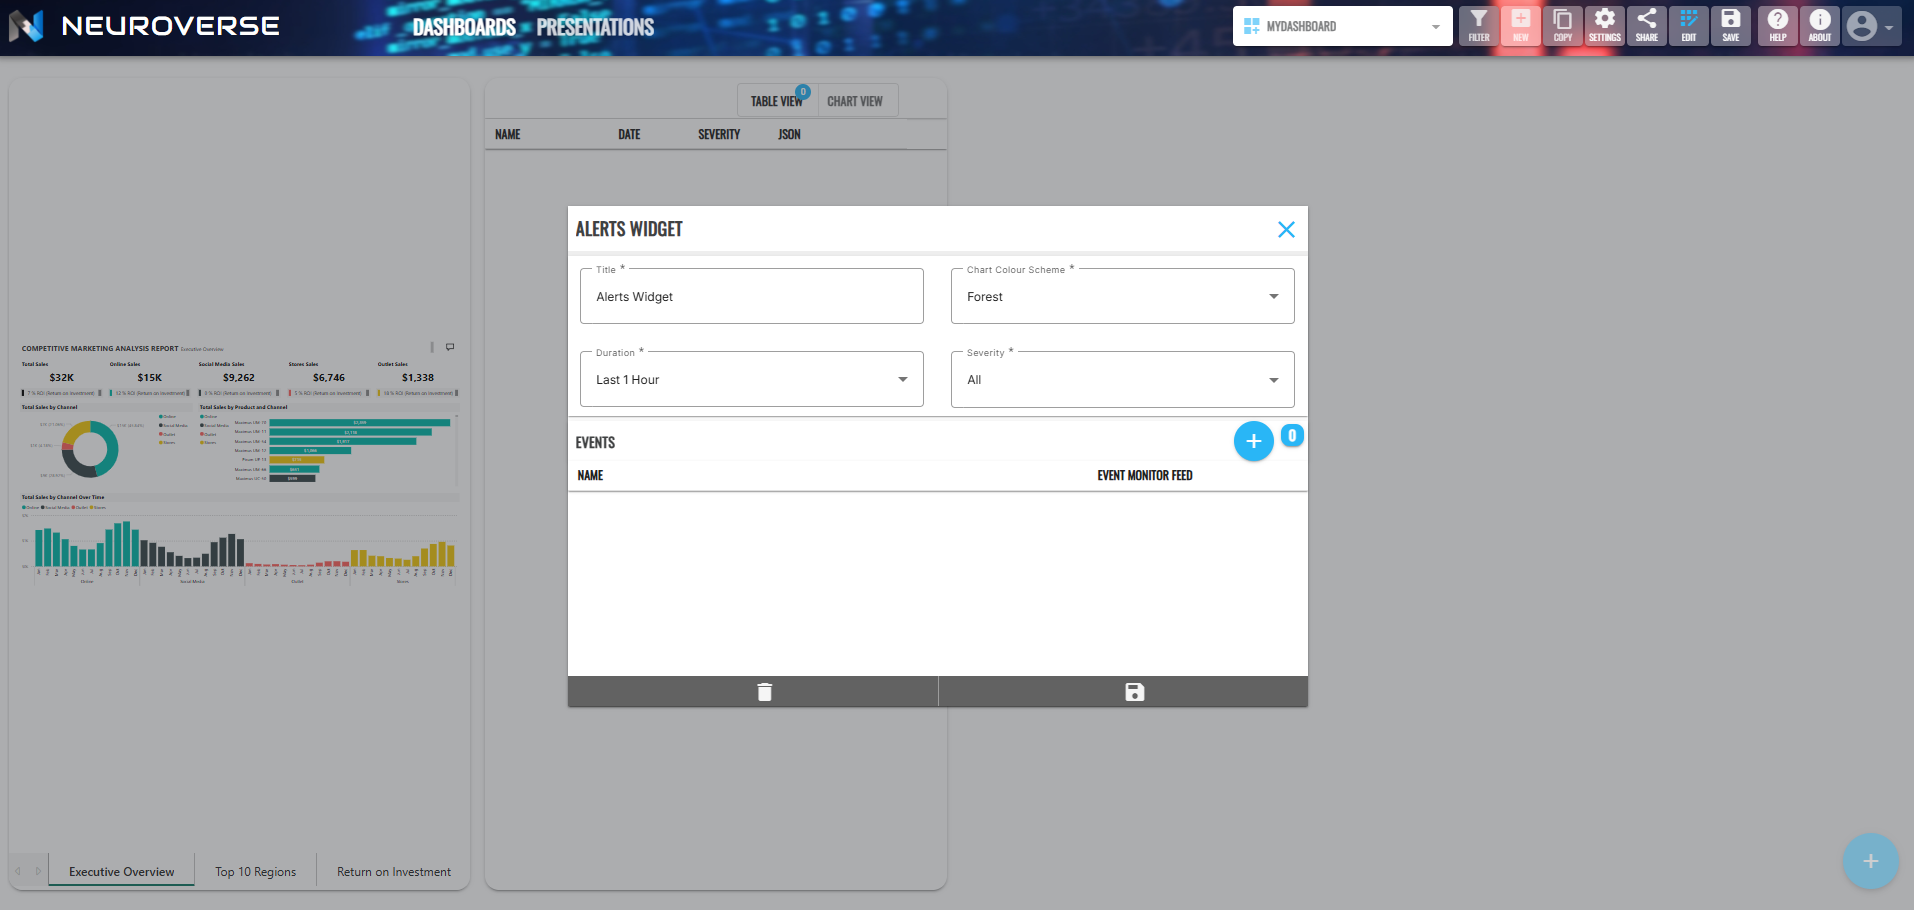
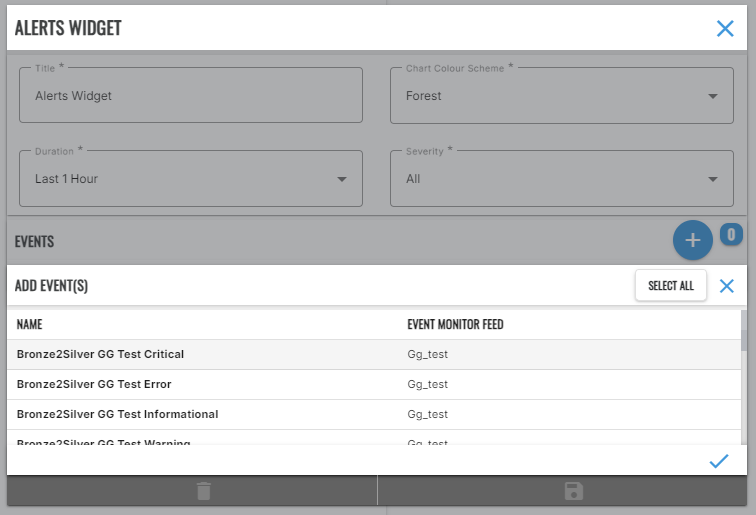
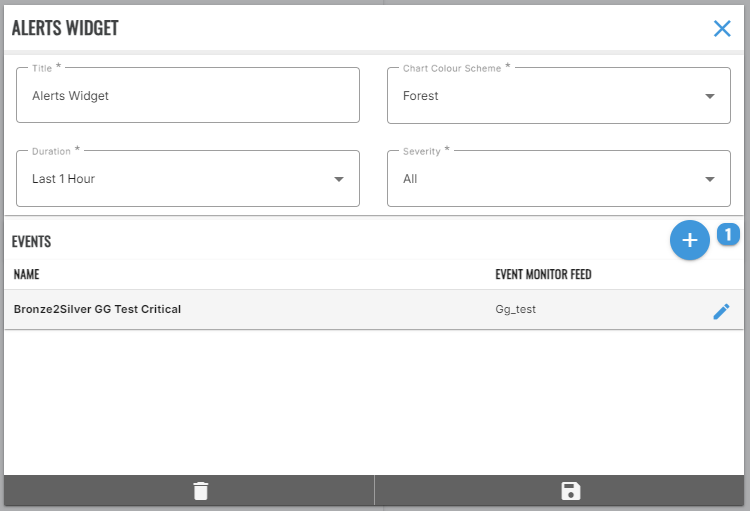
On the edit popup select the Add button at the top right of the Events section, select an event from the list displayed, set the desired Title for the widget and click the Save button as shown in the screenshots below. Note that you are able to also specify the desired Duration, Severity and even Chart Colour Scheme here as well.
A data table for the specified event now appear in the body of the widget as shown below.

It is important to save the changes you have made to your dashboard by clicking the Save button in the title bar section at the top of the screen.
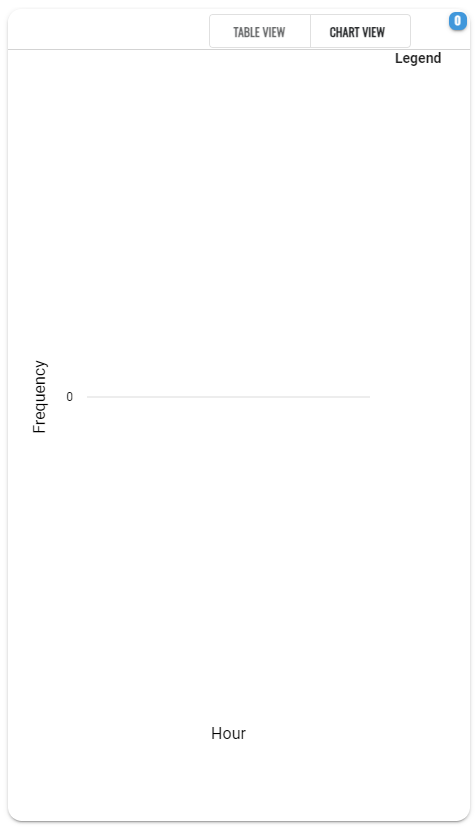
The Chart View Option
Where there are items present in the data table shown when the default Table View option is specified for the widget, a chart view of the data will be displayed upon selection of the Chart View button as shown below.