Changing the Layout of a Dashboard
Dashboard layout within Cortex is highly customizable. The position of widgets on a dashboard can easily be modified, as well as the Column Span and Row Span of individual widgets in order to increase or reduce their width and height relative to other widgets.
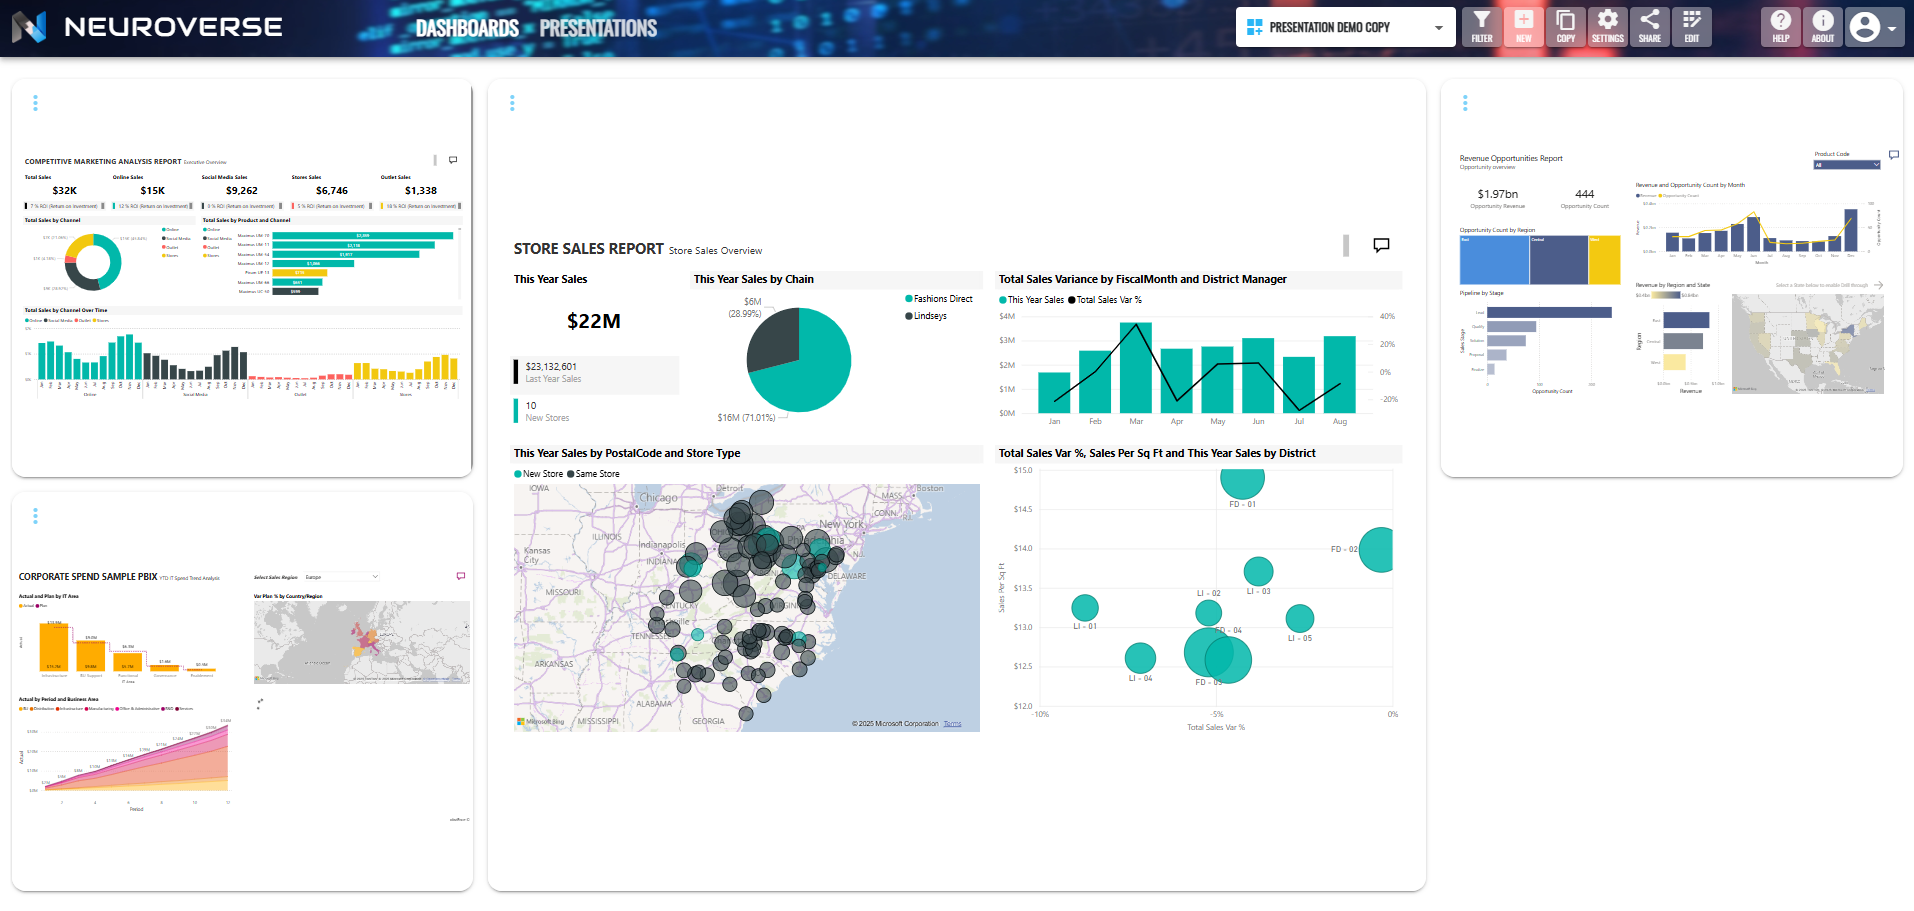
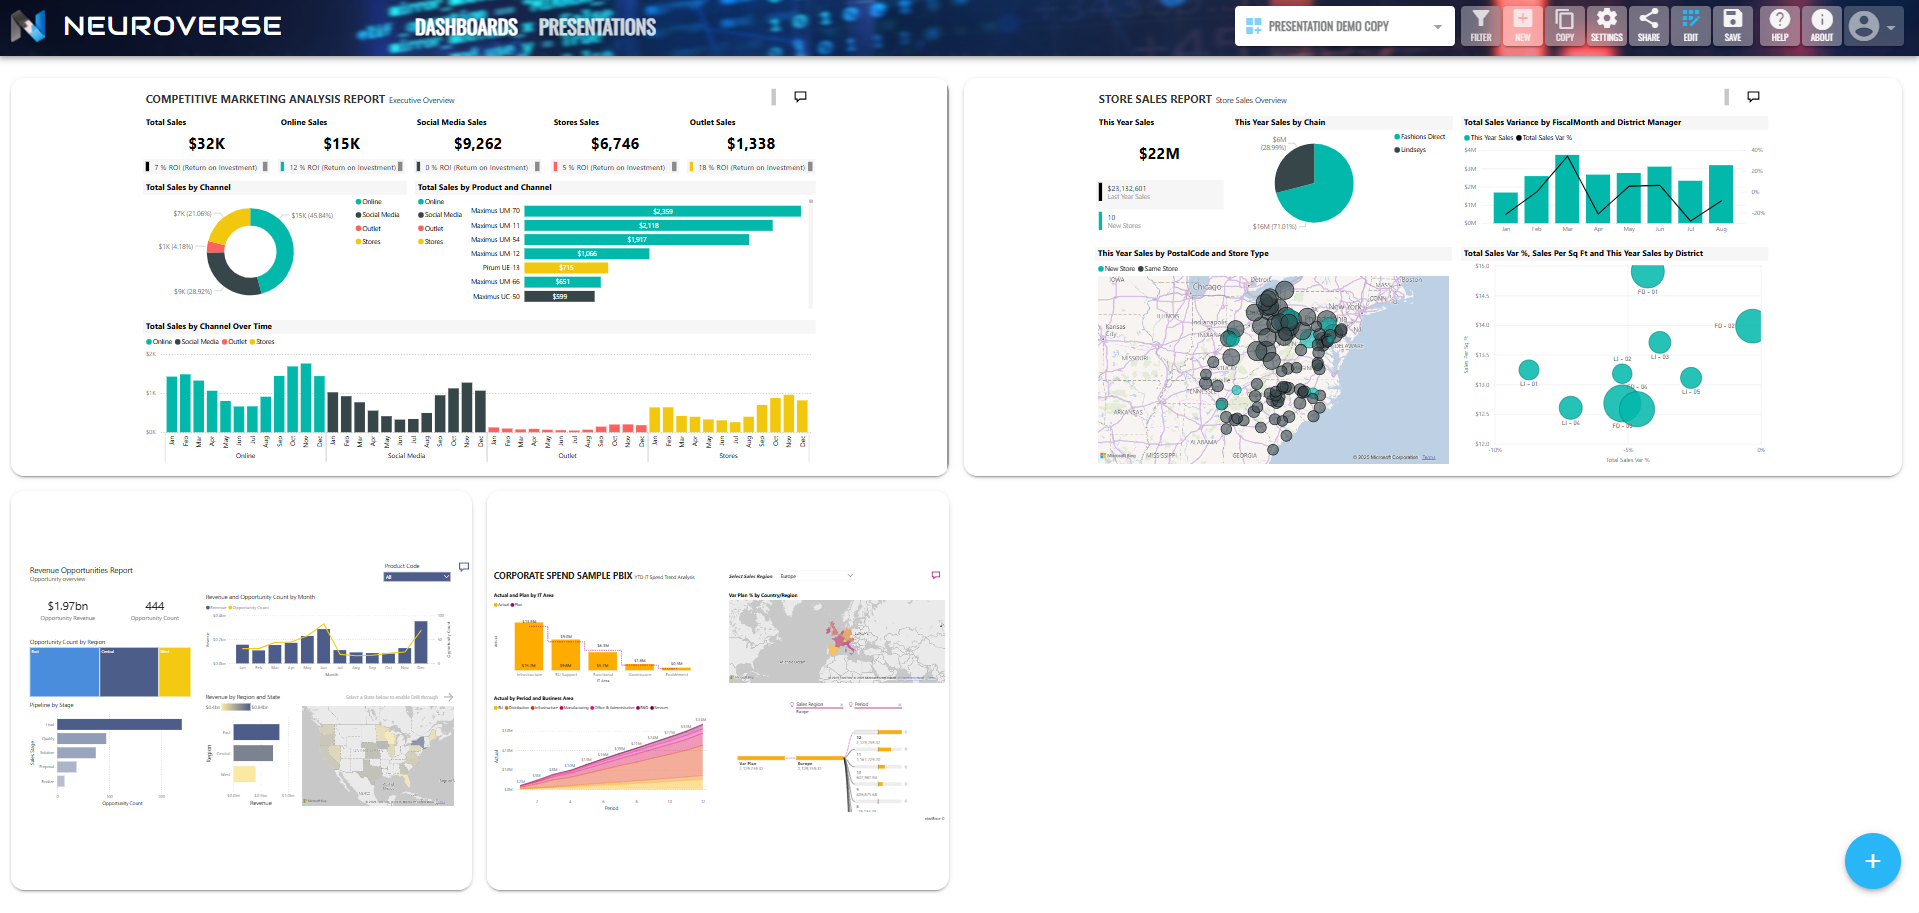
In order to modify the layout of a dashboard the dashboard must first be put into Edit mode by clicking the Edit button in the main menu bar (see below).

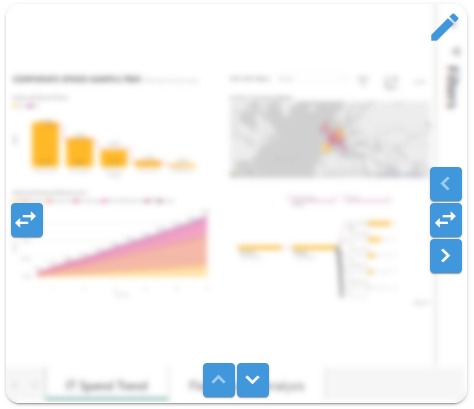
When a dashboard is in edit mode, hovering the mouse over a widget on the dashboard will but that widget in edit mode as well. When a widget is in edit mode the visual section in the middle of the widget will appear blurred and several buttons will appear at the center of the tile on the far left and far right, as well as at the bottom of the tile in the middle (see below).
An Example
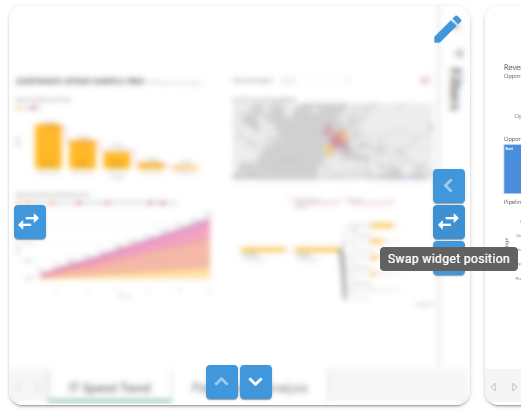
As an example, if we wanted to exchange the positions of the Corporate Spend and Revenue Opportunities widgets in the dashboard displayed above we would put the Dashboard into edit mode, hover the mouse over the Corporate Spend widget then select the button on the right of the widget with an icon showing both a left-pointing arrow and a right-pointing one, as shown below.
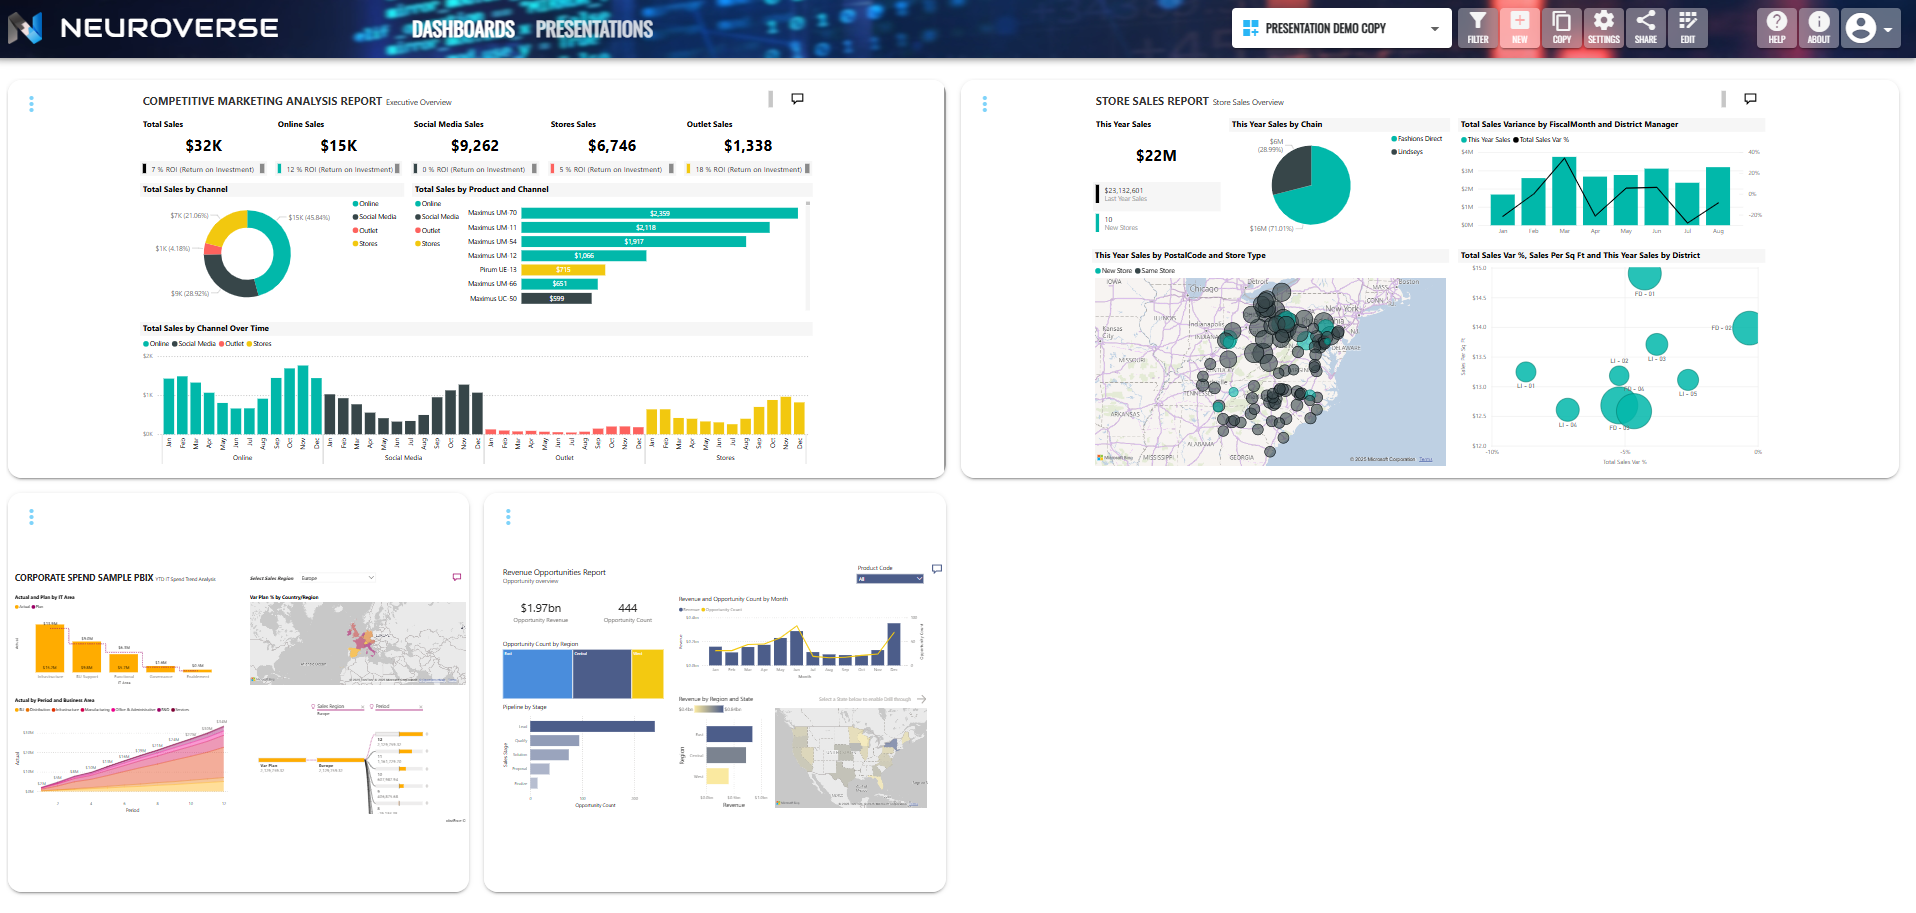
This would result in the following change:
Furthermore we could reduce the width of the Competetive Marketing Analysis widget and increase the height of the Store Sales widget by clicking the button with a single left-facing arrow on the first widget, followed by clicking the button with a single down-facing arrow on the second one, resulting in the following dashboard layout: